Total Pageviews

Saturday 31 December 2011

New Year's Eve spcl- Mushroom Ravioli

Well here's a special recipe for those special occasions, for those interested to make something fancy once in a while.... this will do the magic!

Mushroom Ravioli

Serves 2-3

For the Ravioli- (5 mins)
Ingredients:
2 cups plain flour (maida)
1/4 tsp baking powder
1/2 tsp salt
2 tsp oil
Luke warm water

Method:

  • Mix all the dry contents well.
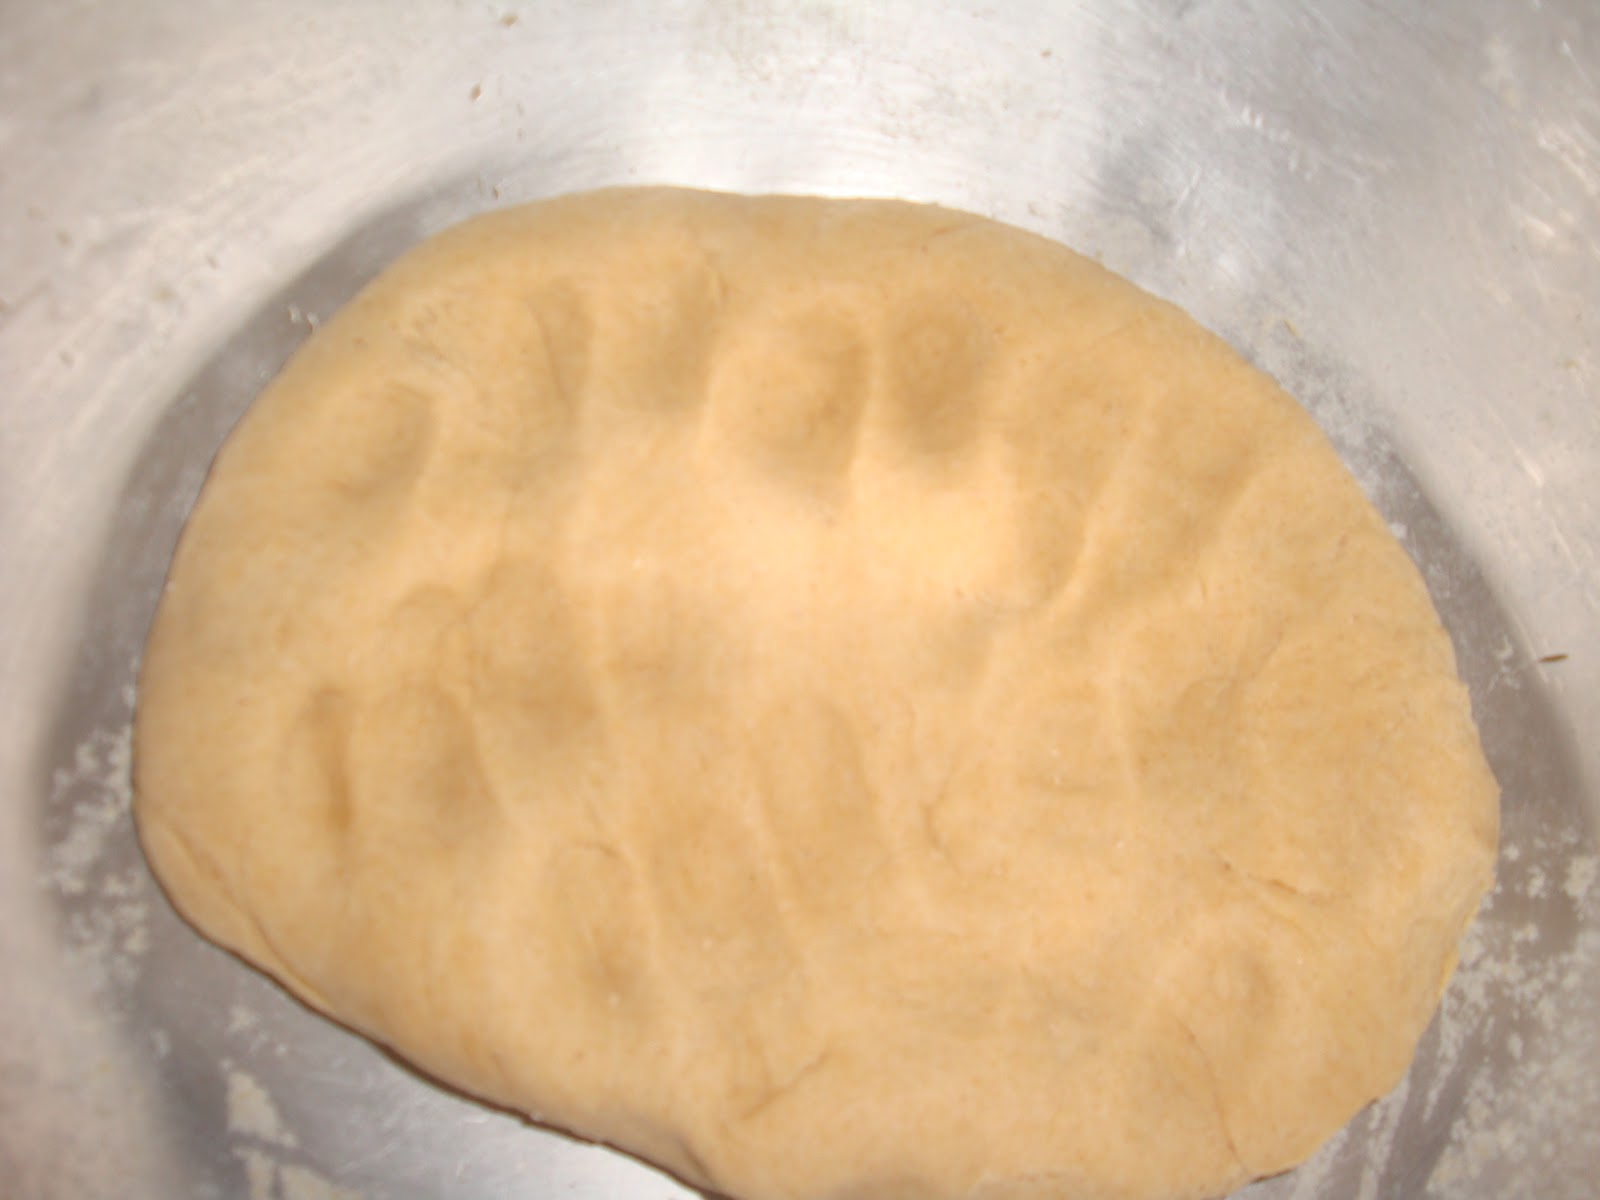
  • Add oil and water to form a nice and soft dough
  • Dust the surface with flour and with a rolling pin stretch out a dough
  • Using a sharp edged cup or something, stencil out discs

For the filling: (5 mins)
1 cup finely chopped mushrooms
1 cup finely chopped capsicum
3 tsp fresh cream
Salt to taste
1/2 tsp pepper
1 tsp oil

Method:
  • Heat oil in a pan, add mushrooms
  • Add salt and pepper and saute for a minute or 2 at high flame
  • Then add capsicum and cream and stir well
  • When the mixture becomes a bit gooey, turn off the heat

Assembling the Ravioli: (3-4 mins)
  •  Best way is to take one of the discs, we prepared and add about 1tsp of the filling in the centre, and close the ends forming a D
  • Another way is to place one disc at the bottom, add filling in the centre and cover this with another disc
  • Ravioli just means a pasta wrapping so there's no hard and fast rule as to how to wrap, be creative! :)

Cooking: (10 mins)
  • Once you have assembled the ravioli's you can steam them.
  • Take a steamer or an idli stand
  • Oil the base and place the ravioli's
  • Put about one glass of water in the steamer and steam for about 10 mins
Mushroom Ravioli all done and trust me its a mouthwatering treat...

Tuesday 27 December 2011

For those who hate to spend time in the Kitchen 101

Okay so today I'm gonna tell you a really simple recipe which takes only 5 mins of your time.

I call it Bread Upma

Serves 1-2
All you need is:
4 slices of bread (make small pieces)
1/2 cup sweet corn
1 chopped tomato
1/2 tsp salt
1/2 tsp pepper
2 tbsp butter
1/2 tsp oregano (optional)


Method:
  • Heat butter is a low bottomed pan, add corn and tomato
  • Add salt, pepper, oregano and saute for about 2 minutes
  • Add the chopped pieces of bread, mix well
  • Turn the heat off and you are done!
Well hope this recipe comes in handy for those who are always in a hurry, for a change its kinda good.

You can also add capsicum in this (it take very little time to cook- so good for quick cooking!

Enjoy eating!
Foodie Out!

Upma @ Anytime


Upma- Staple breakfast for states in South India as well as Orissa from where I hail, so kind off grown up eating this since I was a kid.

Now there are a lot of variations to making upma and the best part about it is that its a very flexible dish. One can add or reduce the number of ingredients.

I'm gonna go for the easier one which you can make in like 10mins, this one recipe can be followed by those who are living in hostels or away from home and don't have access to a proper gas burner, trust me a simple aluminium base electric kettle is enough to do the magic! (been there, done that- so tried and tested)

Alright!

Serves: 2
Prep Time:5 mins, Cooking Time: 8-10mins

All you need is:
5 tsp Cooking Oil
1/2 tsp Cumin Seeds (Jeera)/ or 1/2 tsp Mustard Seeds (use any one, not both)
1 small chopped onion (optional)
1 chopped capsicum
1 chopped tomato
3/4 tsp salt
1 tsp sugar
1 cup semolina (sooji)
2 cups water

# Note: semolina: water = 1:2 every time

Method:

  • Heat oil in a low bottomed pan and add cumin seeds 
  • After the cumin seeds have popped, add onion till its sort off transparent in colour, then add the other vegetables.
  • Saute for a 2 mins, add water, salt and sugar
  • Bring to boil
  • Simmer and add semolina (pour semolina slowly and keep stirring continuously- avoid forming lumps)
  • All the water will dry out quickly, so if your upma starts sticking to the pan, turn the heat off
All Done!!

# Tip: For better results you can fry some peanuts and add to your upma in the end (Not for those allergic)
# If you don't like capsicum you can use peas/ carrots/ cabbage/ cauliflower/ potatoes, etc (cooking time will vary depending upon which veggie you use- some need to be cooked more before adding water)

For those without any access to proper gas burners:

You can use a kettle like the one in the image, I had one of these when I was in hostel. Costs about 1-1.5K (not that expensive). Cooking in this can be a bit time consuming as these kettles normally have auto power off after they reach a certain temp/ but need not worry, you can cook upma in about 15mins if using this!


Method of cooking is the same as for normal burner, just takes a bit more time.

Well I hope you find this one helpful, if you want me to write a particular recipe, do drop in your comments, also if you have any suggestions regarding any of the recipes I will be happy to try them out!

What fun without a little experiment ;)

Foodie Out as Somya Stirs :P

Monday 26 December 2011

Pizza Base Sauce

Key Element to make any Pizza... the base sauce.
I know most would prefer to put a sauce straight out of a Jar like a Salsa Sauce, or ketchup, or some store bought Pizza Sauce, but trust me on this one... this sauce was totally yumm..
Its multipurpose and healthy at the same time.. Its a No OIL and No BUTTER recipe

Prep Time: 5 mins, Cooking Time: 10 mins
All you need is:
5-6 Tomatoes
1inch Ginger
2-3 Green Chilli
1/2 tsp Oregano
3/4 tsp Salt
1 tsp Sugar
1/2 tsp Black Pepper
1/2 tsp Red Chili flakes


Method:

  • Chop tomatoes, ginger and chili. Drop all this in a grinder, grind it till its a nice even paste
  • Heat up a low bottom pan, add sugar and few drops of water to make caramel. Pour the paste on the caramel and mix.
  • To this add some salt, oregano, black pepper and red chili flakes
  • Stir this on a high flame 
  • Simmer after about 3-4 mins and let the sauce reduce to a nice consistency (almost like a paste)
Your Pizza Sauce is now done, you can apply this evenly on the base, not too much (pizza might become soggy), just enough to cover the entire base.

If you are left with some of that sauce you can just eat it with chips or momos or something.
this makes a nice salsa too... you can chop up a small onion and have it with tortillas.

So here's the multipurpose sauce...
Hope it does your taste buds justice...

Foodie Out as Somya Stirs ... :P


Thin Crust Pizza Base @ Home

I had been tempted to try this one for a while now.... Thin crust pizza have been quite popular in India lately... and my hands had been itching to try and recreate it at home.

Super healthy and easy to make. Its less doughy and more toppings... I prefer it that way!


Serves: 4
Ingredients:
For the base:
3 cups Wheat Flour
1/4 tsp Salt
3-4 tbsp Vegetable Oil/ Olive Oil
Luke warm water

Method:
  • Take a mixing bowl, mix the flour and salt with a spoon.
  • Add oil and mix all the contents with your hands properly, the mixture should feel grainy.
  • Next we add the water and work up a nice dough, key is to keep adding water in small amounts to make sure the dough is nice and soft.
  • Divide the dough into parts depending on size of pizza you want to bake (Make equal portions)
  • Cover dough to avoid drying out 
  • Dust the surface with wheat flour where you want to roll out the dough, first take one portion of dough, flatten using palm and thumbs making a small disk, dust it nicely with dry flour and use a rolling pin to roll it out, make it as thin as a 'Roti', in the end lightly press your fingers along the base making the surface a bit uneven


  • You can either cook it in an Oven or an Electric Tandoor, if oven then preheat Oven at 220 degree Celsius 
For Oven
  • Nicely oil the baking dish and place the pizza base
  • Slather the pizza sauce - click here for recipe http://somya-patra.blogspot.in/2011/12/pizza-base-sauce.html
  • Add the toppings as per your liking and bake the dish for 15-20 mins until its done (First one normally takes 20mins, after that 15mins should do the magic :P)
  • Don't forget to keep checking the base on regular intervals to avoid excess burning

For Electric Tandoor

  • Grease the baking tray and place the pizza base in center. Spread the pizza sauce, grated cheese and finish with your favorite toppings.
  • Pre-heat the Tandoor for 2 mins, cooking time varies from 5-6mins depending on heat.
  • Since the tandoor doesn't have a temperature controller, I always moderate it by switching it off and checking the crust. Once the cheese is melted and gooey and the crust is golden, take out using a big Spatula.
I prefer to cook using a tandoor as its quick and gives a nice burnt flavour which is hard to get in an OTG.


Foodie Out!!

Sunday 25 December 2011

Foodie at Heart

I have always been the kinds who likes to try out new and different kinds of food.... I know that my palate has not been subject to different varieties of produce and dishes, and my experience is somewhat limited, but still once a foodie, always a foodie..

Everyone has different passions.... for some it may be photography, for some writing, for some shopping, etc etc... My set of passions is somewhat varied.. I would'nt say that I am a passionate eater .... (now dont you go looking at my waist line like that... its inheritance :P)... I would say that I am more passionate about cooking...

For instance I go out to eat somewhere, I would always have the tendency to go back home to try out a dish if I really liked it... Its all about whats available in the market, I want to be able to cook it myself and may be better than outside.

Some might feel why bother the D.I.Y concept, why not spend some bucks, have a nice lil lunch and dinner out side, save the time and all the trouble. Why to put yourself through that, but you know maybe its just me, but I like cooking at home and making those dishes (masterchef bug you see) ... also my parents have this obligation of not eating outside food, so I cook for them so that they dont miss out on those junk items :P and of course get the opportunity to try everything new.

Historically speaking my Granny used to be a great cook, I grew up eating one of the best dishes which many have failed to remake, and I am from a family of great cooks who love to cook and love to eat and love to indulge ... basically Khate Peete Ghar ki Ladki...

So here I am a foodie at heart, who likes to experiment a bit in the kitchen and if a successful dish is conjured then I will surely write it down and maybe take you through the journey of cooking it at home and let you surprise your tastebuds :)